
Ensuring that your bike fits you properly is crucial for comfort, injury prevention and most importantly making it enjoyable to ride! If you can, we would always recommend having a professional bike fit, this a service we offer at both of our stores and its free with bike purchases in store. We’ll cover sizing and small adjustments here to make your life better on the bike.
Bike fit is sometimes seen as a bit of a dark art, and it can be very complex, but getting the basics of sizing and fit right can make the world of difference to how you ride a bike.
Sizing
This is the most important one by far, if you’re not on the right size frame it will be very difficult to get a good fit on the bike. That bargain X-Small frame might be tempting but is it right for you? The best place to start is by checking your exact height and inside leg measurement (get a friend to help so you dont have to contort yourself), almost all bike manufacturers will have a sizing guide on their website. We always recommend speaking to a member of the team if you’re unsure on sizing, but there are tools to help if you can’t make it into store:
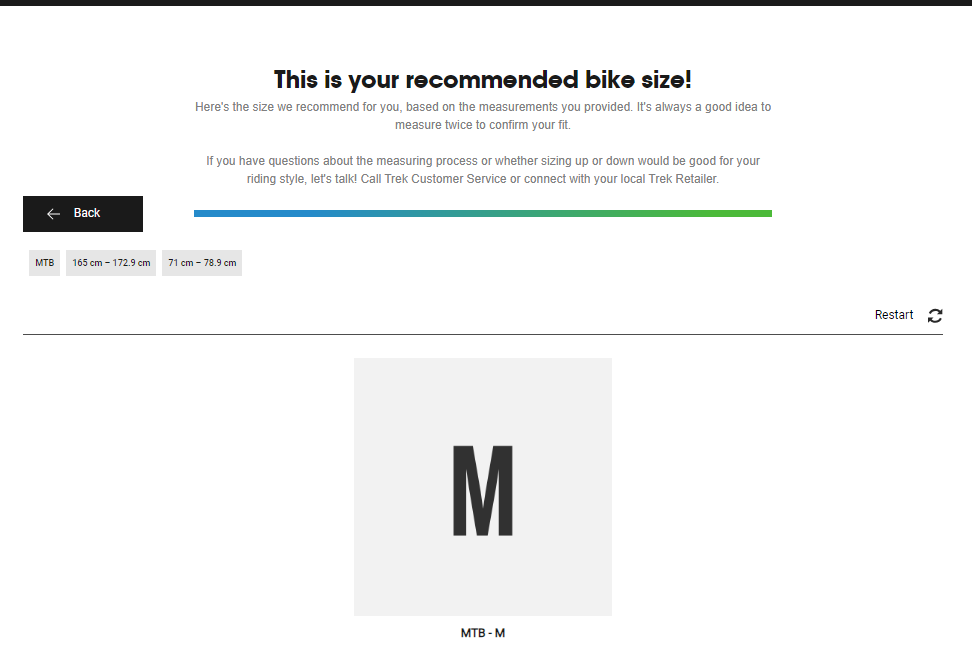
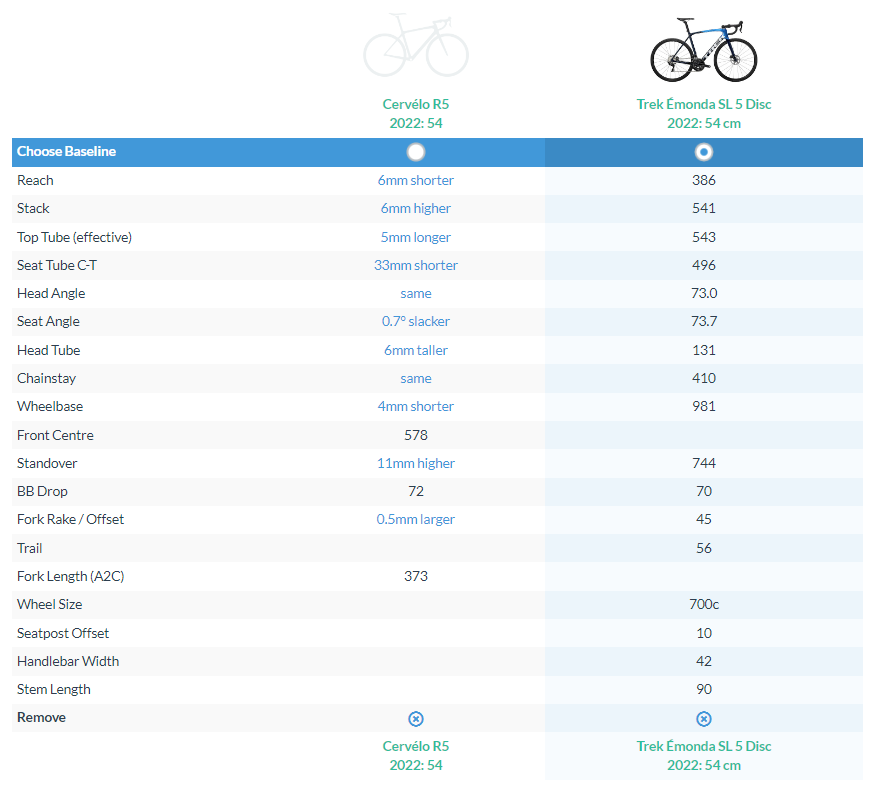
Geometry Geeks is one of our favourite tools for seeing how bikes stack up against each other, you can quickly see the difference in stack and reach between multiple bikes and see what’s right for you. If you have a bike that you’re comfortable on, try comparing it to the new bike you’re looking at.
Saddle height
This may seem obvious, but saddle height has a huge impact on comfort, performance and even injury. Some key things to look out for are:
Saddle too high (Generally but not exclusively)
- Rolling your hips/torso side to side
- Dipping your toes a lot (high heel through the whole pedal stroke)
- Knee rolling inward or locking out at the bottom of the pedal stroke
Saddle too low (Generally but not exclusively)
- Knees or ankles bowed/rolling outward
- Bouncing on the saddle at higher cadence (this can also be caused by having the saddle too high and flexibilty/mobility issues)
A good way to find a starting point for saddle height is to check if you can put the ball of your heel on the pedal axle, with your leg straight (and knee locked) and while staying seated square on the saddle. Repeat this for both legs to double check you’re sat squarely on the saddle. The pedal should be at the lowest position, 6 O’clock, if you’re knee is bent, raise the saddle slightly and try again. If you can’t place your heel on the pedal, lower your saddle slightly and try again. When you then place your toe on the pedal, this method should give you a good bend in your knee.
While it may seem a little scary, its normal not to be able to touch the ground with both feet while sat on the saddle, instead use the pedal as a platform and use it to step down from the saddle with your other foot, sliding your weight off the front of the saddle. A good way to practice this technique before heading outside is in a hallway where you can lean on the walls for balance if you need it. Try stepping on and off a few times until it feels a bit more natural, it will quickly become second nature.
Handle bar height and stem length
The combination of handlebar height and stem length determine the effective reach of your bike. Most bikes will come with fairly ‘standard’ length parts based on the average dimensions of someone with your frame size, but these can be adjusted to give a balance between performance and comfort. Symptoms of a bad fit here can be lower back pain, shoulder and neck pain and numbness or pain in your hands. A quick check for fit is:
Place your hands on your grips or lever hoods, and think about the position of your back and shoulders, if you let go of the hoods without moving your upper body, can you maintain this position? Are you having to really engage your core to comfortably stay there? If you struggle to maintain the position then it could be your fit is too aggressive, you could consider adding spacers under the stem, or swapping for a shorter stem to take some pressure off your hands and shoulders, transferring your weight back to your core.
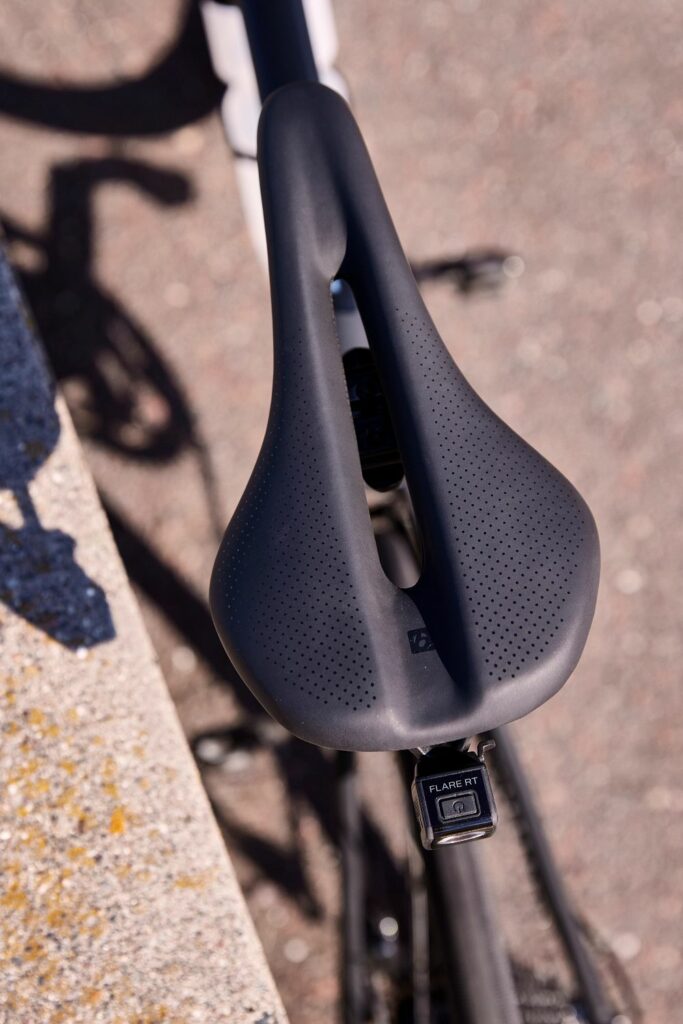
Saddle angle and position
In most cases you want your saddle to be flat or very slightly nose down, typically you can do this by eye but a spirit level may help for a particularly curved saddle. As for fore and aft position, find wherever feels naturally comfortable on the saddle and check that your knee is directly over the pedal axle when the pedal is at the 3 o’clock position using a plumb line. This won’t solve all discomfort issues but is a good place to start, if problems persist try swapping your saddle for a wider/narrower option, more padding doesn’t necessarily mean more comfort.
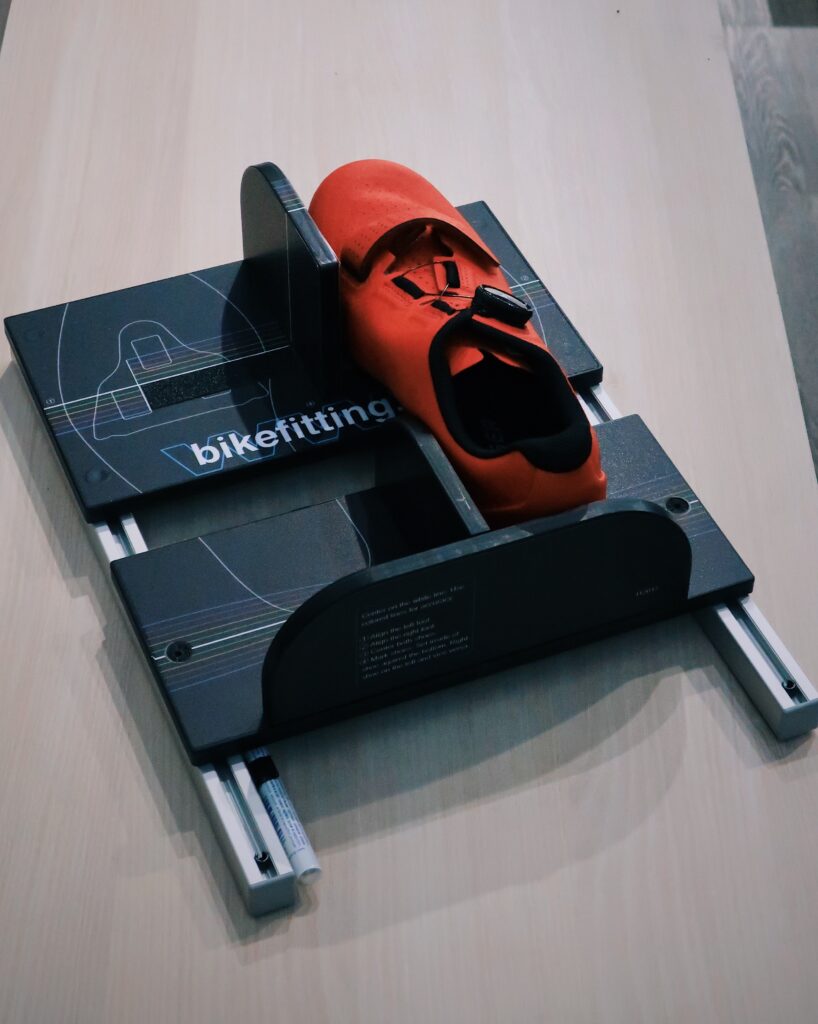
Cleat position
For a lot of riders pedal cleats are fit and forget, but a misaligned or worn cleat will cause instability in the foot, and in turn your knee and hip. Its important to check your cleats and pedals aren’t too worn and that they haven’t moved, to avoid injury and keep you pedalling smoothly. We offer alignment on cleat fitting at our Ashford store if you’re unsure or need help with any alignment issues you have.
As always, if you have any questions or need advice on any of the topics discussed here pop into our Folkestone or Ashford Stores, or contact us here, we’re happy to help.


